
Author Introduction:
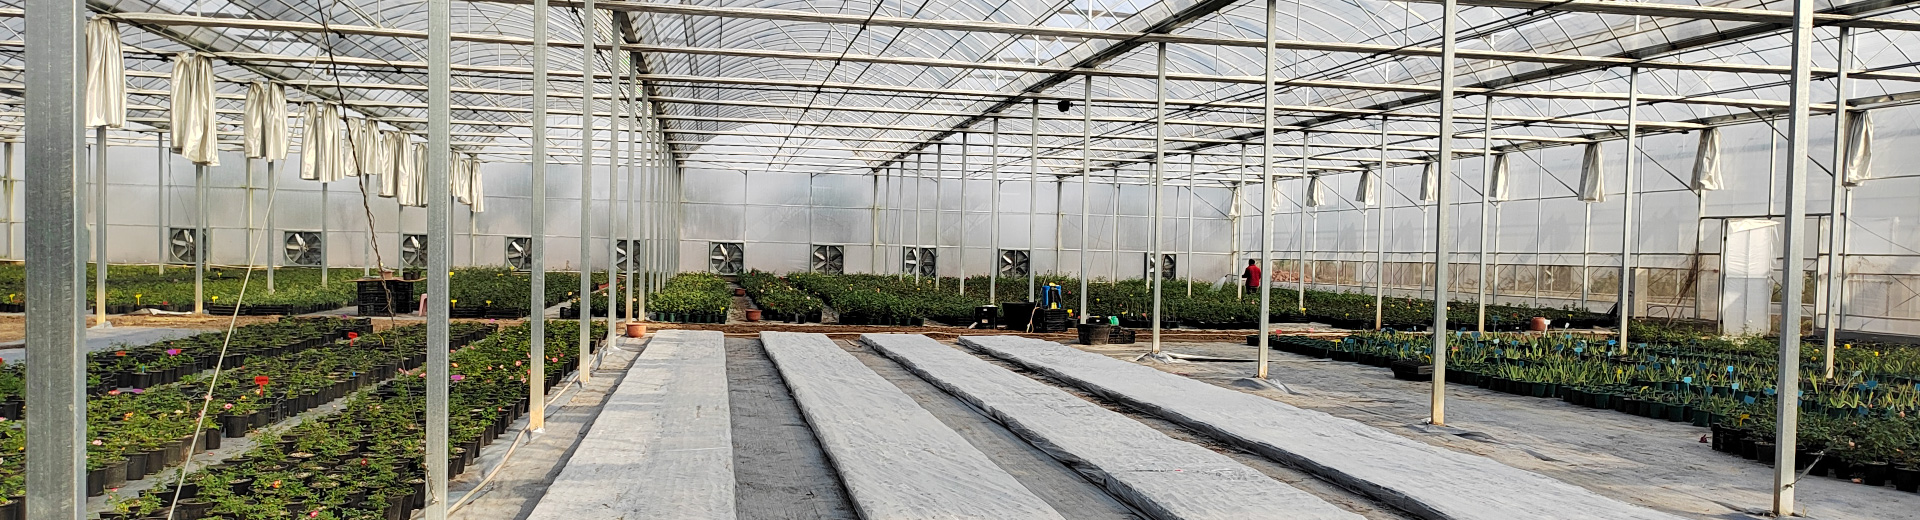
Write by ANHUI FUYANG JINFENG ECOAGRICULTURE CO.,LTD., where gardening expertise meets premium quality plants and trees! With over 30 years of experience, we’ve cultivated a reputation as specialists in providing top-notch flora for all your gardening needs. What began with a few humble plastic greenhouses has blossomed into a sprawling operation spanning about 300 acres.

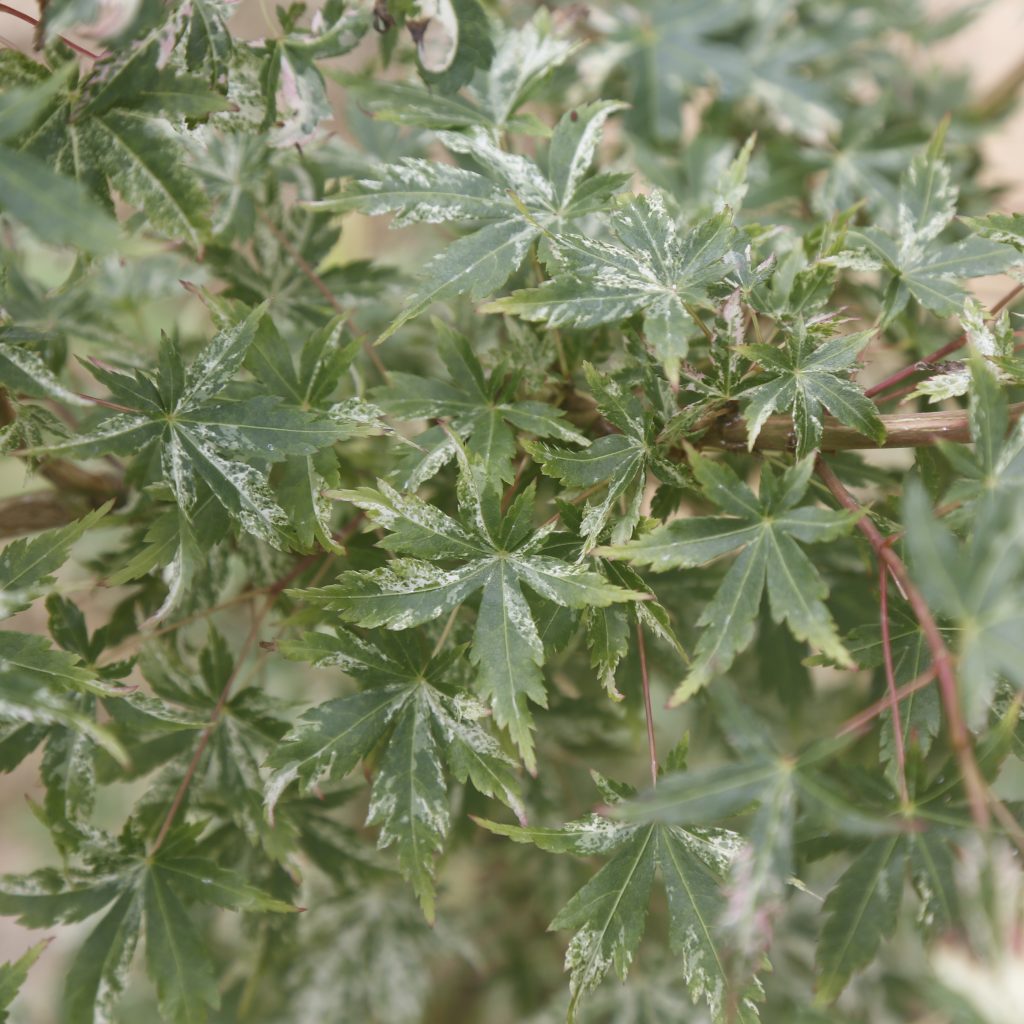
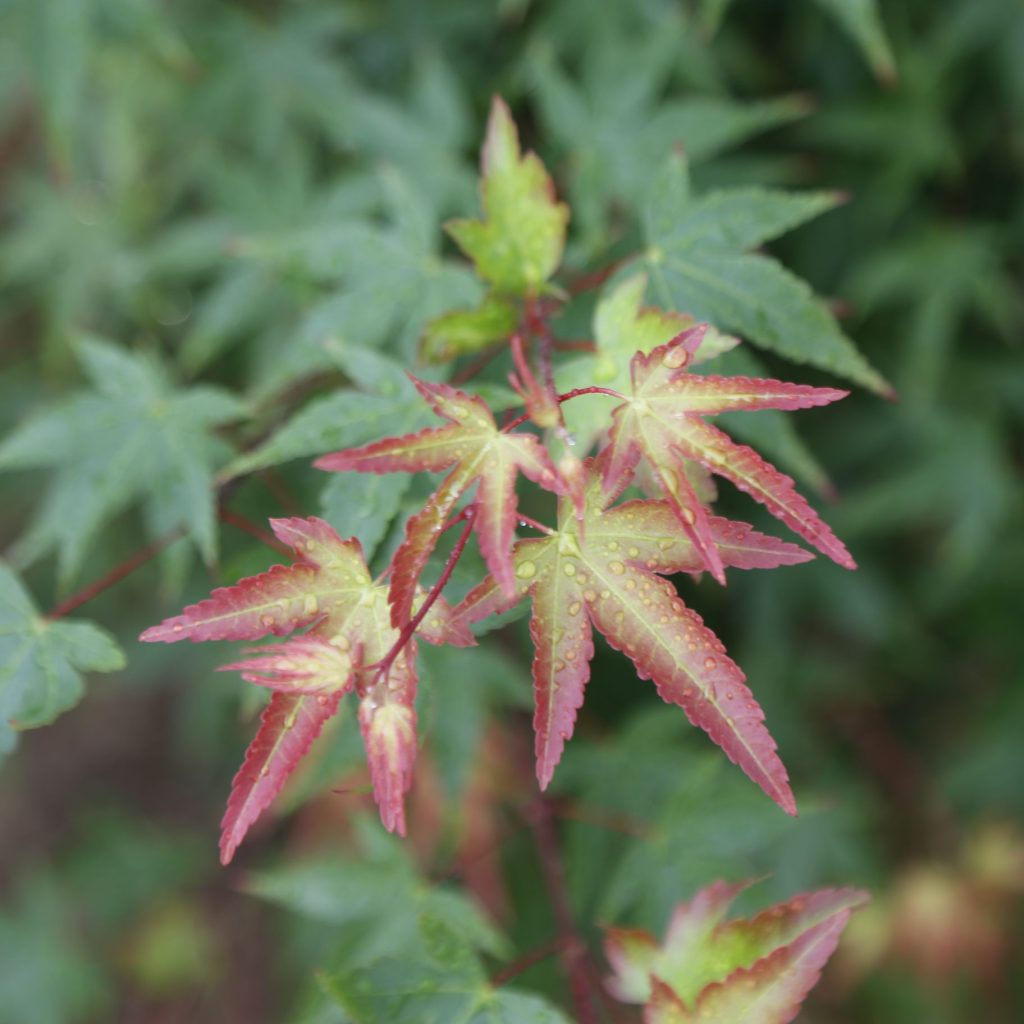
Japanese Maple trees (Acer palmatum) are celebrated for their striking foliage and elegant form, making them a favorite among bonsai enthusiasts. Crafting a Japanese Maple bonsai involves precision and patience to capture the essence of this beautiful tree in miniature form. Here’s a detailed guide to help you create and maintain your own Japanese Maple bonsai.
Selecting the Right Tree
Choosing Your Sapling: Opt for a young Japanese Maple sapling that is 1-2 years old. Look for a tree with a strong, straight trunk, and a balanced structure. Ideally, it should have multiple branches and healthy, vibrant leaves. Avoid trees with signs of disease, pests, or poor growth.
Choosing the Container
Pot Selection: Pick a bonsai pot that suits the size of your tree and complements its style. The pot should have adequate drainage holes to prevent excess water from accumulating. Shallow, wide pots are preferred as they facilitate better root control and stability. Ensure the pot is in proportion to the tree to enhance its visual appeal.
Preparing the Soil
Soil Mix:
Use a specialized bonsai soil mix for optimal growth. A typical mix includes:
Akadama: A type of clay that improves soil structure and provides essential nutrients.
Pumice: Adds aeration and helps with water retention.
Lava Rock: Enhances drainage and prevents soil compaction.
You can also incorporate a small amount of organic matter, like compost, for added nutrients.

Pruning and Wiring
Pruning:
Initial Pruning: Start by pruning the primary branches to shape the tree. Focus on removing any large, unwanted branches and those growing inward or crossing each other. This helps in establishing the basic structure.
Detail Pruning: As the tree matures, prune the smaller branches and leaves to refine the shape and encourage dense foliage. Regular pruning is essential to maintain the desired bonsai form.
Wiring:
Wiring Technique: Use bonsai wire (aluminum or copper) to guide the growth of branches and the trunk. Wrap the wire around branches and gently bend them into the desired shape. Avoid over-wiring, which can damage the tree. Regularly check and adjust the wire to prevent it from cutting into the bark.
Removing Wire: After a few months, or once the branches have set into their new position, carefully remove the wire to prevent scarring.
Potting the Tree
Repotting:
Root Pruning: Gently remove the tree from its nursery container and inspect the root system. Trim any overly long or thick roots, and remove any that are damaged or diseased.
Potting Process: Place a mesh screen over the drainage holes of the bonsai pot to prevent soil loss. Position the tree in the center of the pot and secure it with wire or soil. Fill in around the roots with the prepared soil mix, pressing it down gently to eliminate air pockets.
Watering and Fertilizing
Watering:
Frequency: Water the bonsai thoroughly whenever the top inch of soil feels dry. The frequency will vary based on the season, temperature, and humidity. Always ensure the water drains freely from the pot.
Method: Water the tree until it runs out of the drainage holes, ensuring that the entire root system receives adequate moisture.
Fertilizing:
Type of Fertilizer: Use a balanced, water-soluble fertilizer (e.g., 10-10-10) during the growing season (spring and summer). Follow the manufacturer’s instructions to avoid over-fertilizing.
Application: Apply fertilizer every 2-4 weeks, reducing the frequency as the tree enters dormancy in the fall.
Sunlight and Temperature
Light Requirements:
Location: Japanese Maples prefer bright, indirect light. Direct sunlight can scorch the delicate leaves, especially in summer. A location with morning sun and afternoon shade is ideal.
Indoor vs. Outdoor: If growing indoors, place the bonsai near a window with filtered light. Outdoor trees should be protected from harsh midday sun and strong winds.
Temperature:
Range: Japanese Maples thrive in temperate climates. They prefer temperatures between 60-75°F (15-24°C). Protect the tree from extreme temperatures and frost, especially during winter.
Maintenance
Pest and Disease Management:
Inspection: Regularly check for pests like aphids, spider mites, and scale insects. Also, monitor for fungal diseases and leaf spot issues.
Treatment: Use appropriate insecticides or fungicides as needed. Neem oil can be effective for both pests and diseases. Maintain good air circulation around the tree to reduce the risk of infections.
Ongoing Care:
Pruning: Continue to prune as the tree grows to maintain its shape and remove any unwanted growth.
Repotting: Repot the bonsai every 2-3 years to refresh the soil and manage root growth. This helps in maintaining the health and size of the tree.
Patience and Artistry
Creating a Japanese Maple bonsai is a rewarding endeavor that requires time, patience, and dedication. The art of bonsai involves nurturing the tree, guiding its growth, and shaping it over time. Each bonsai reflects the care and creativity of its caretaker, and its beauty evolves with each passing year.
By following these steps, you can embark on the journey of growing and shaping your own Japanese Maple bonsai. Enjoy the process of cultivation and take pride in watching your miniature masterpiece develop and thrive.